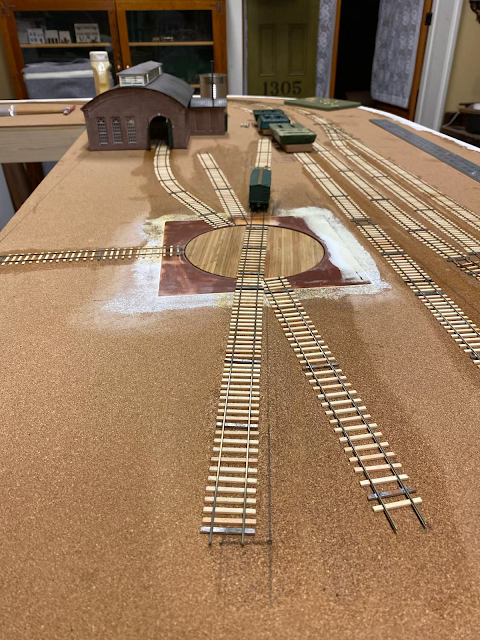
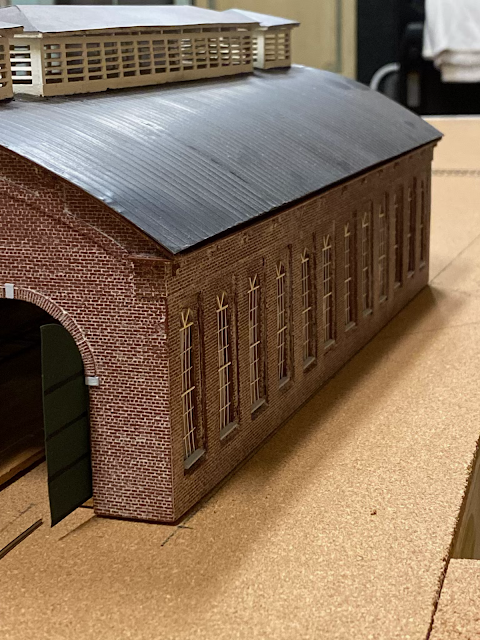
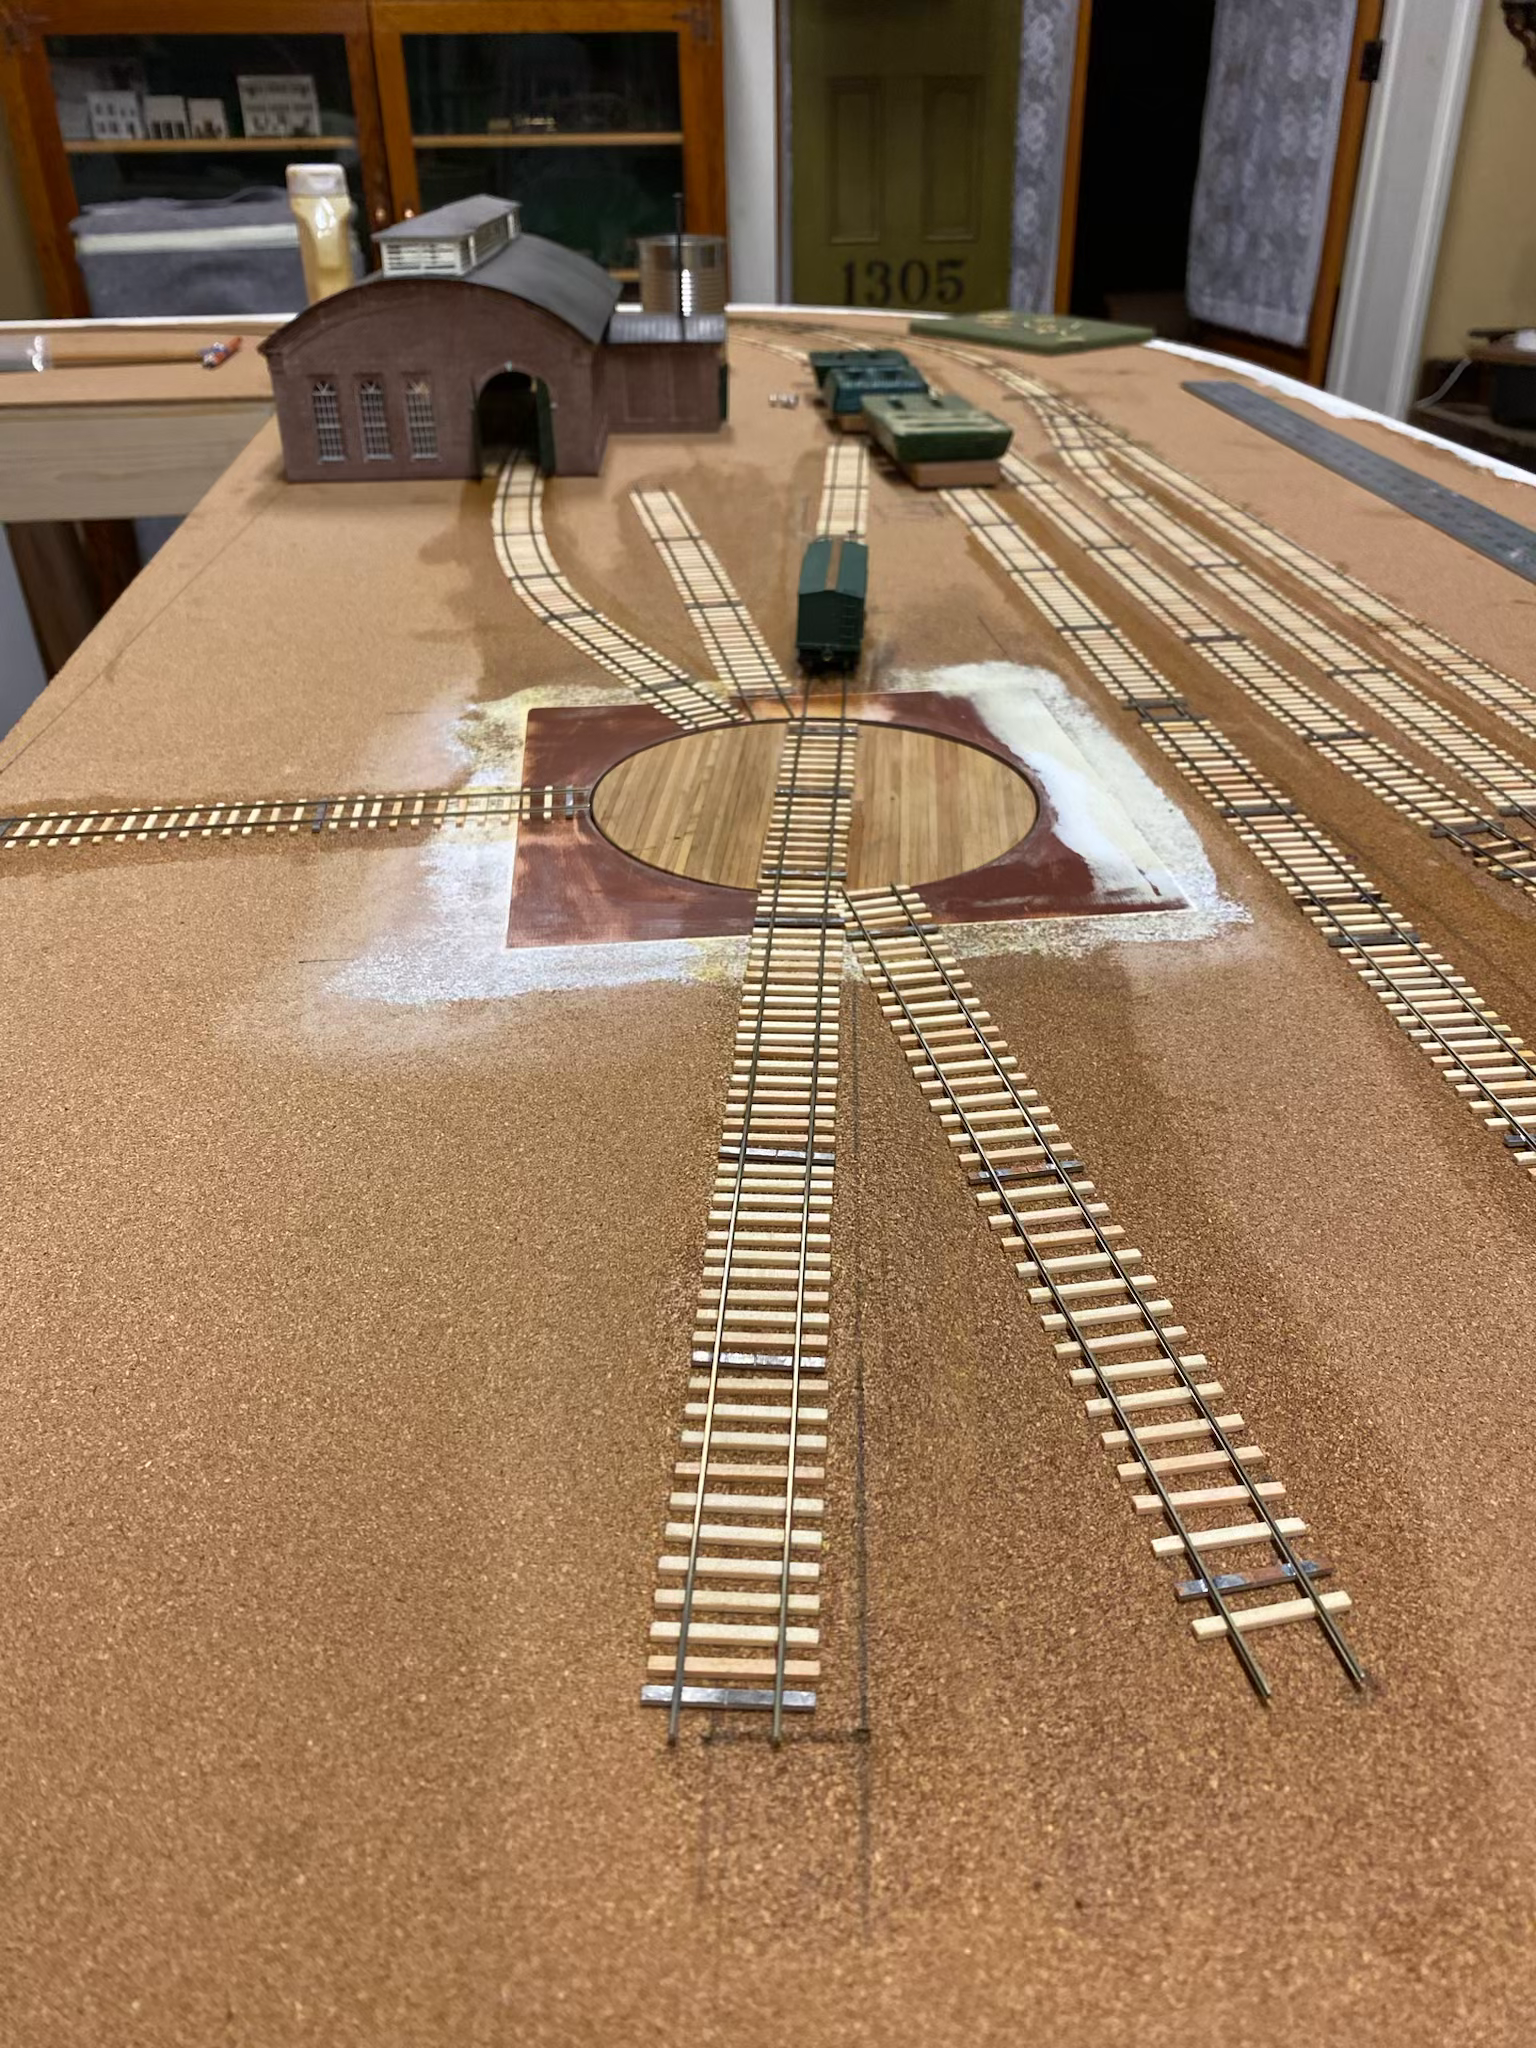
An HO scale model of the rail line between Chattanooga TN. and Atlanta GA.
Tuesday, December 17, 2024
NICK KANE"S SACRAMENTO VALLEY RR, Part 1
Saturday, March 6, 2021
Adams Express Group Build Project
About one month ago, Bernie Kempinski posted a suggestion / challenge for a group build of a box / freight car. The purpose is to generate activity and motivation for those who have wanted or perhaps have stalled on a project. It also can inform members and viewers as to the possibilities to increase your railroad fleet. I chose to scratch build the Adams Express car. As far as we know, there are only two ACW era photos. Interesting in that there are three different types reveled in these images shown below...
This first image, taken in Nashville, has long side openings and an exterior door. The truck side frames are unique in that they are braced with two vertical beams to accommodate heavy loads. One can assume that the color was on the lighter side since the lettering and numbers are dark. A cool modeling detail is the calk marks on the sides. Although they could be considered graffiti today, these were either instructions or notations for the handlers.
This next image shows two Adams cars photographed in Chattanooga, circa 1864...
On the left, a distinct difference from the above is that the door runs on the inside and has a curved roof versus peaked. And seeing white lettering, most likely the color is quite dark. Looking at a photo I took at the Sacramento Museum, it could be a bluish green, seen below this photo.
Back to the Nashville photo, the Adams car to the right has other differences which include a shorter height, a boarded up window and what appears to be an even lighter color with dark lettering.
Here is a sequence of photos of my partially completed version of the car in the Chattanooga photo...
Siding is Northwestern scale lumber, 1/8" scribed siding, but the planks are too wide. I would use the more prototypical 1/16" for others. The roof is card stock and scored to illustrate a metal roof. I will add Panamint HOT82sACW 3D printed trucks and InterMountain metal wheels. I used metal crate castings for weights and have one door open to see in. Look close and there is a waybill attached to one of the crates. On the other end is a 1/4 oz. weight to bring the total weight to about 46 grams. Alexander link and pin couplers are also attached. Grab irons are Detail West .019 brass wire. Grandt Line #5101 nut/bolt castings also add to the detail. Turnbuckles are by Tichy. Queen posts I believe are Grandt Line. I found these in a drawer, to my joyful surprise, but were loose so the manufacturer is a guess. Lastly will be to create decals or cut individual letters... oh boy.
Wednesday, February 3, 2021
Latest Images of the Atlanta Rolling Mill
Amazing in that five months have passed, I have had the least amount of work and NO POSTS! I decided to at the least share a few photos of the current state of the mill.
The primary source for the interior detailing comes from this painting by Menzel:
One of the first interior elements were 3D printed by my good friend, and ACWRR member, Gerry Dykstra. He fashioned rollers that are a visual feature for this model.Saturday, August 29, 2020
SCHOFIELD ROLLING MILL - ATLANTA
There are other images of similar rolling mills, however, this is the only photo of Schofield I could find. And as you can see, there are two tracks. Most likely, but uncertain, is that one track is a passing siding and the other a main.
You may recall the scene in Gone With The Wind where Rhett is leading a carriage with Millie, her new born and Scarlet through the burning cars in the Atlanta rail yard. That was the a depiction of Confederate soldiers needing to burn the cars and inadvertently so went the mill. Matter of fact, Wilbur Kurtz, consultant to the movie, had the prop builders add a sign to one of the buildings that read MILL. You can see this on photo outtakes of the film.
A close proximity to how the Schofield mill looked is this illustration. The caption lists it as Atlanta-Rolling Mill-1871. Serious selective compression will be required. I am modeling the 1863 version which, with poetic license, compression was required.
Apparently, production output of the mill included mostly rail and canon tubes. One interesting feature of the structure is that it was open along most walls. This makes sense given the hot summers down south and the need for ventilation. Further research, and help from my buddy Gerry Dykstra, surfaced images of how the interior may have looked.
This following painting is by von-Menzel depicting a mill in Europe. Many conversations later I was able to confirm that the interior was built of wood beams. Gerry indicated that the floor most likely was iron sheets vs. brick or stone as they would have exploded like shrapnel if hot iron hit it. The vertical beams would most likely have been wrapped with iron sheet as well about 4' from the floor up to protect against flame.
This next painting is a mill in Toronto. A big difference here is the roof design. This looks to be an A-type. The Atlanta mill roof was curved, similar to those of the Car Sheds in Atlanta and Chattanooga. Bow trusses will be built to accommodate the mill's curved roof. As you can see, there are a plethora of possibilities to be considered for the interior.
Nest step was to build a base. The majority of layout structures are removable. The same is planned for the mill. As I could not find a thick enough styrene, this is a laminate. Quick Grip is THE BEST!
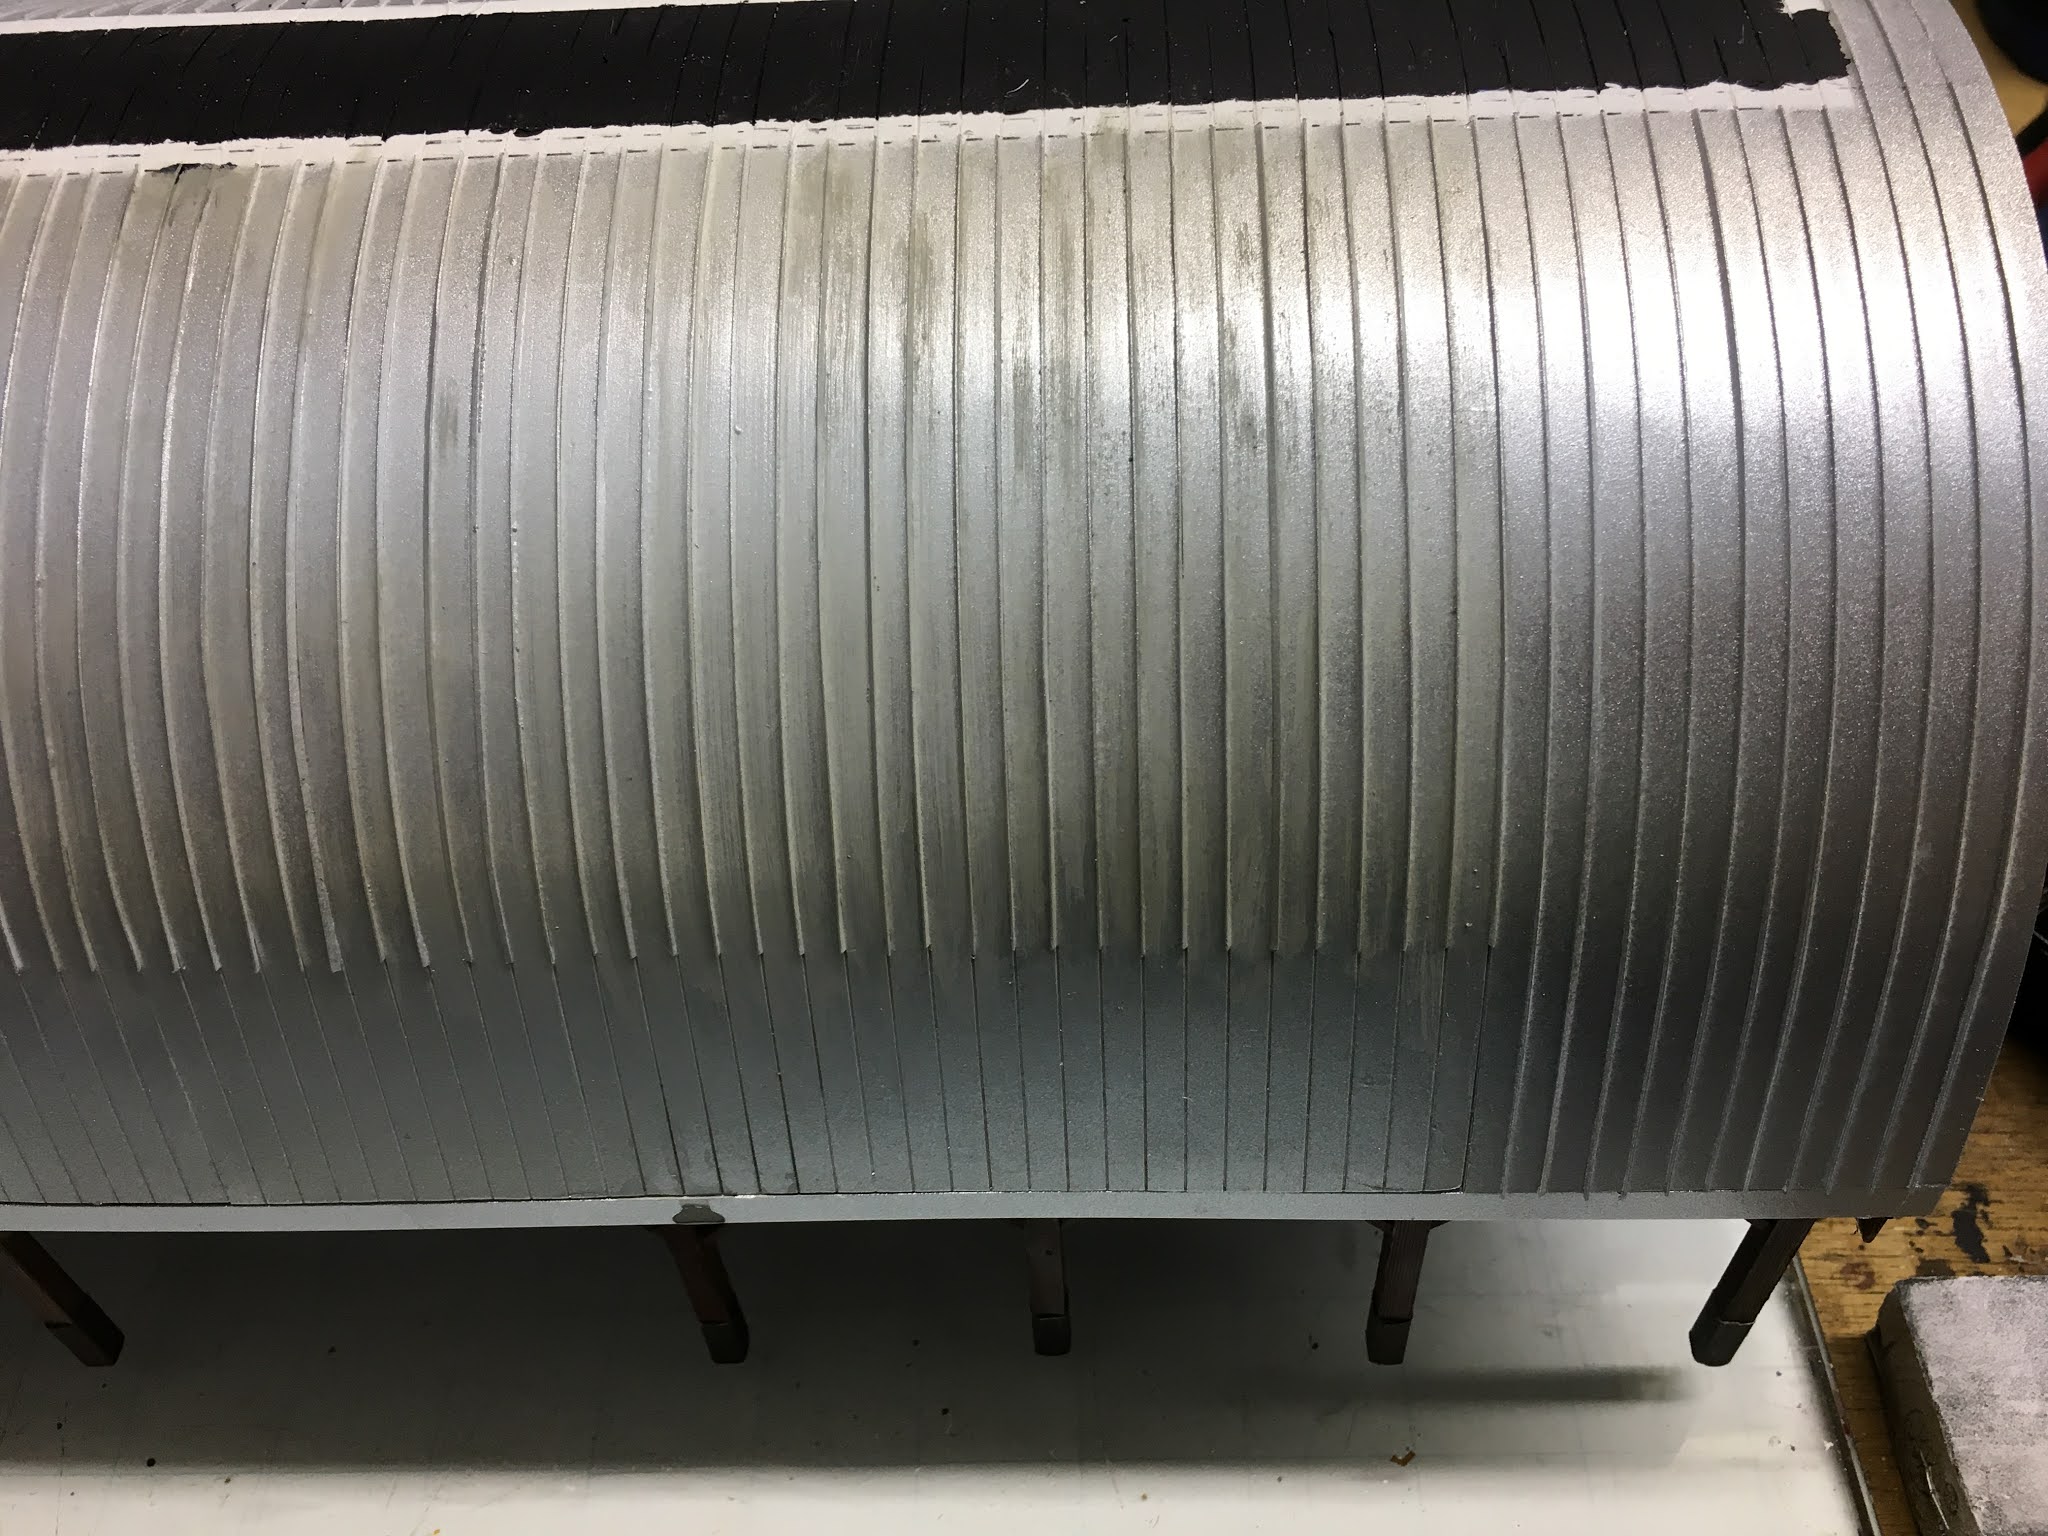
Several sections of the metal roofing were needed to complete the length. Once these were set, next was to add the seems. These metal roofs were made in sections. The material was a tin makeup. The seems represent the soldered sections.
As you can see, MANY of these little buggers were required. Once done I chose a silver metallic spray paint as a base color. Roof was then painted a heavy wash of gray craft paints.
You notice the area where seems stopped. This was to allow the back section of the structure to be attached. The sides were cut from the Dykstra template...
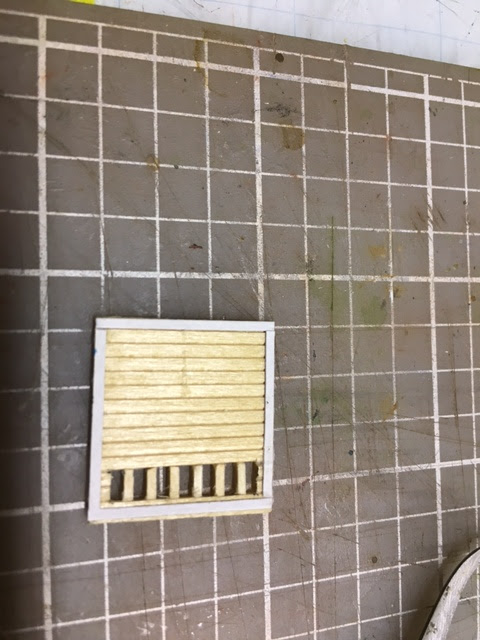
The oval areas were louvers. Once attached as the sides, the roof interior was next. A terrific web site, Textures.com, offers free images. I was luck enough to find wood that matched what we deduced for the ceiling. A key bit of research came from another friend, Charlie who did the Chattanooga Car Shed... O scale! Charlie had this done to full scale; it came out to about 4'.
Of course I did not recognize the need for corbels as this project was learn as you go. These were willed with my Dremel hitched to a vise and used as a lathe.
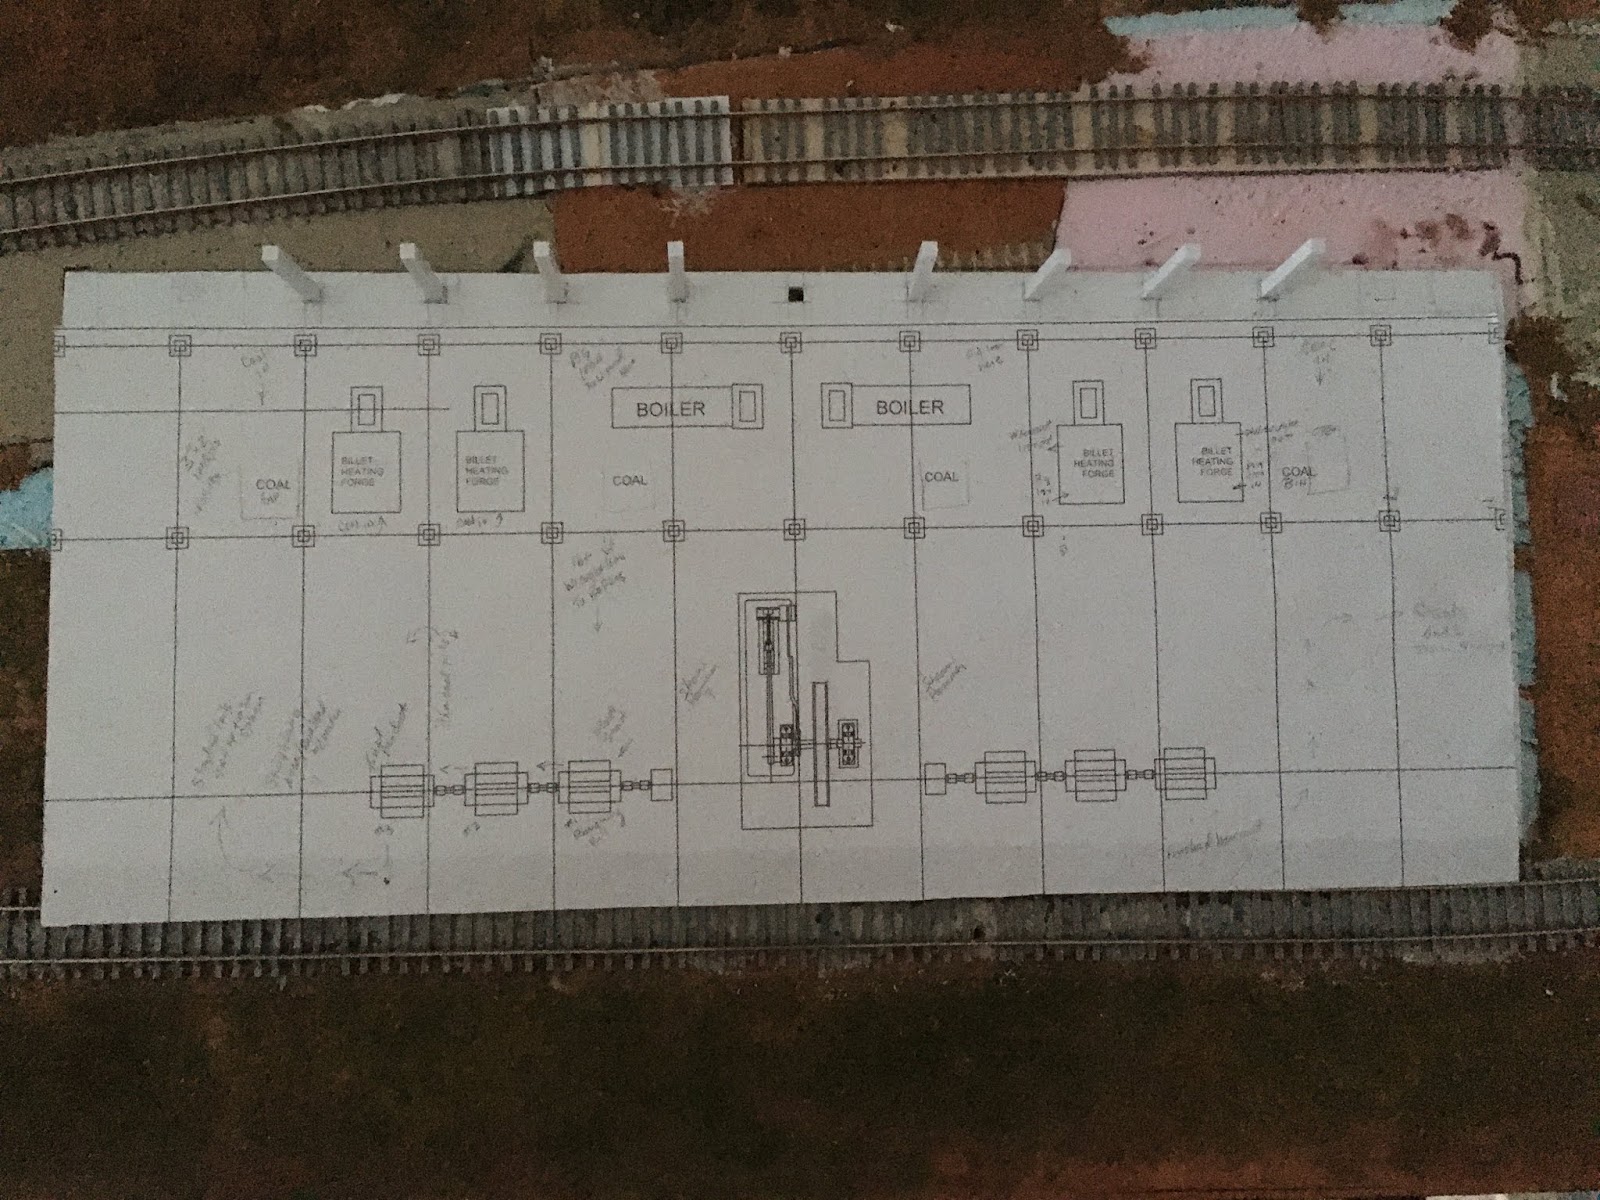
This roof would be where the chimneys from the furnaces and boilers protruded. The chimneys came out to be the featured element.
Using another Textures.com paper, each chimney required 8 pieces to achieve the look of the period photo.
After many conversations with different construction friends and Mr Dykstra, copper flashing was deduced.
Stay tuned. In another couple of weeks I will have completed adding the bow truss rods, boilers, furnaces, steam engine and steam hammer.