We had our 16th op session here two days ago. If you have ever hosted an operating session, you are familiar with the preparation and setup required for a smooth, or relatively smooth, running of the trains. I begin with an email confirming the operators, date, timing, and other incidentals. One example is that we are an inside slipper or sock home; outside shoes are deposited on the inside porch.
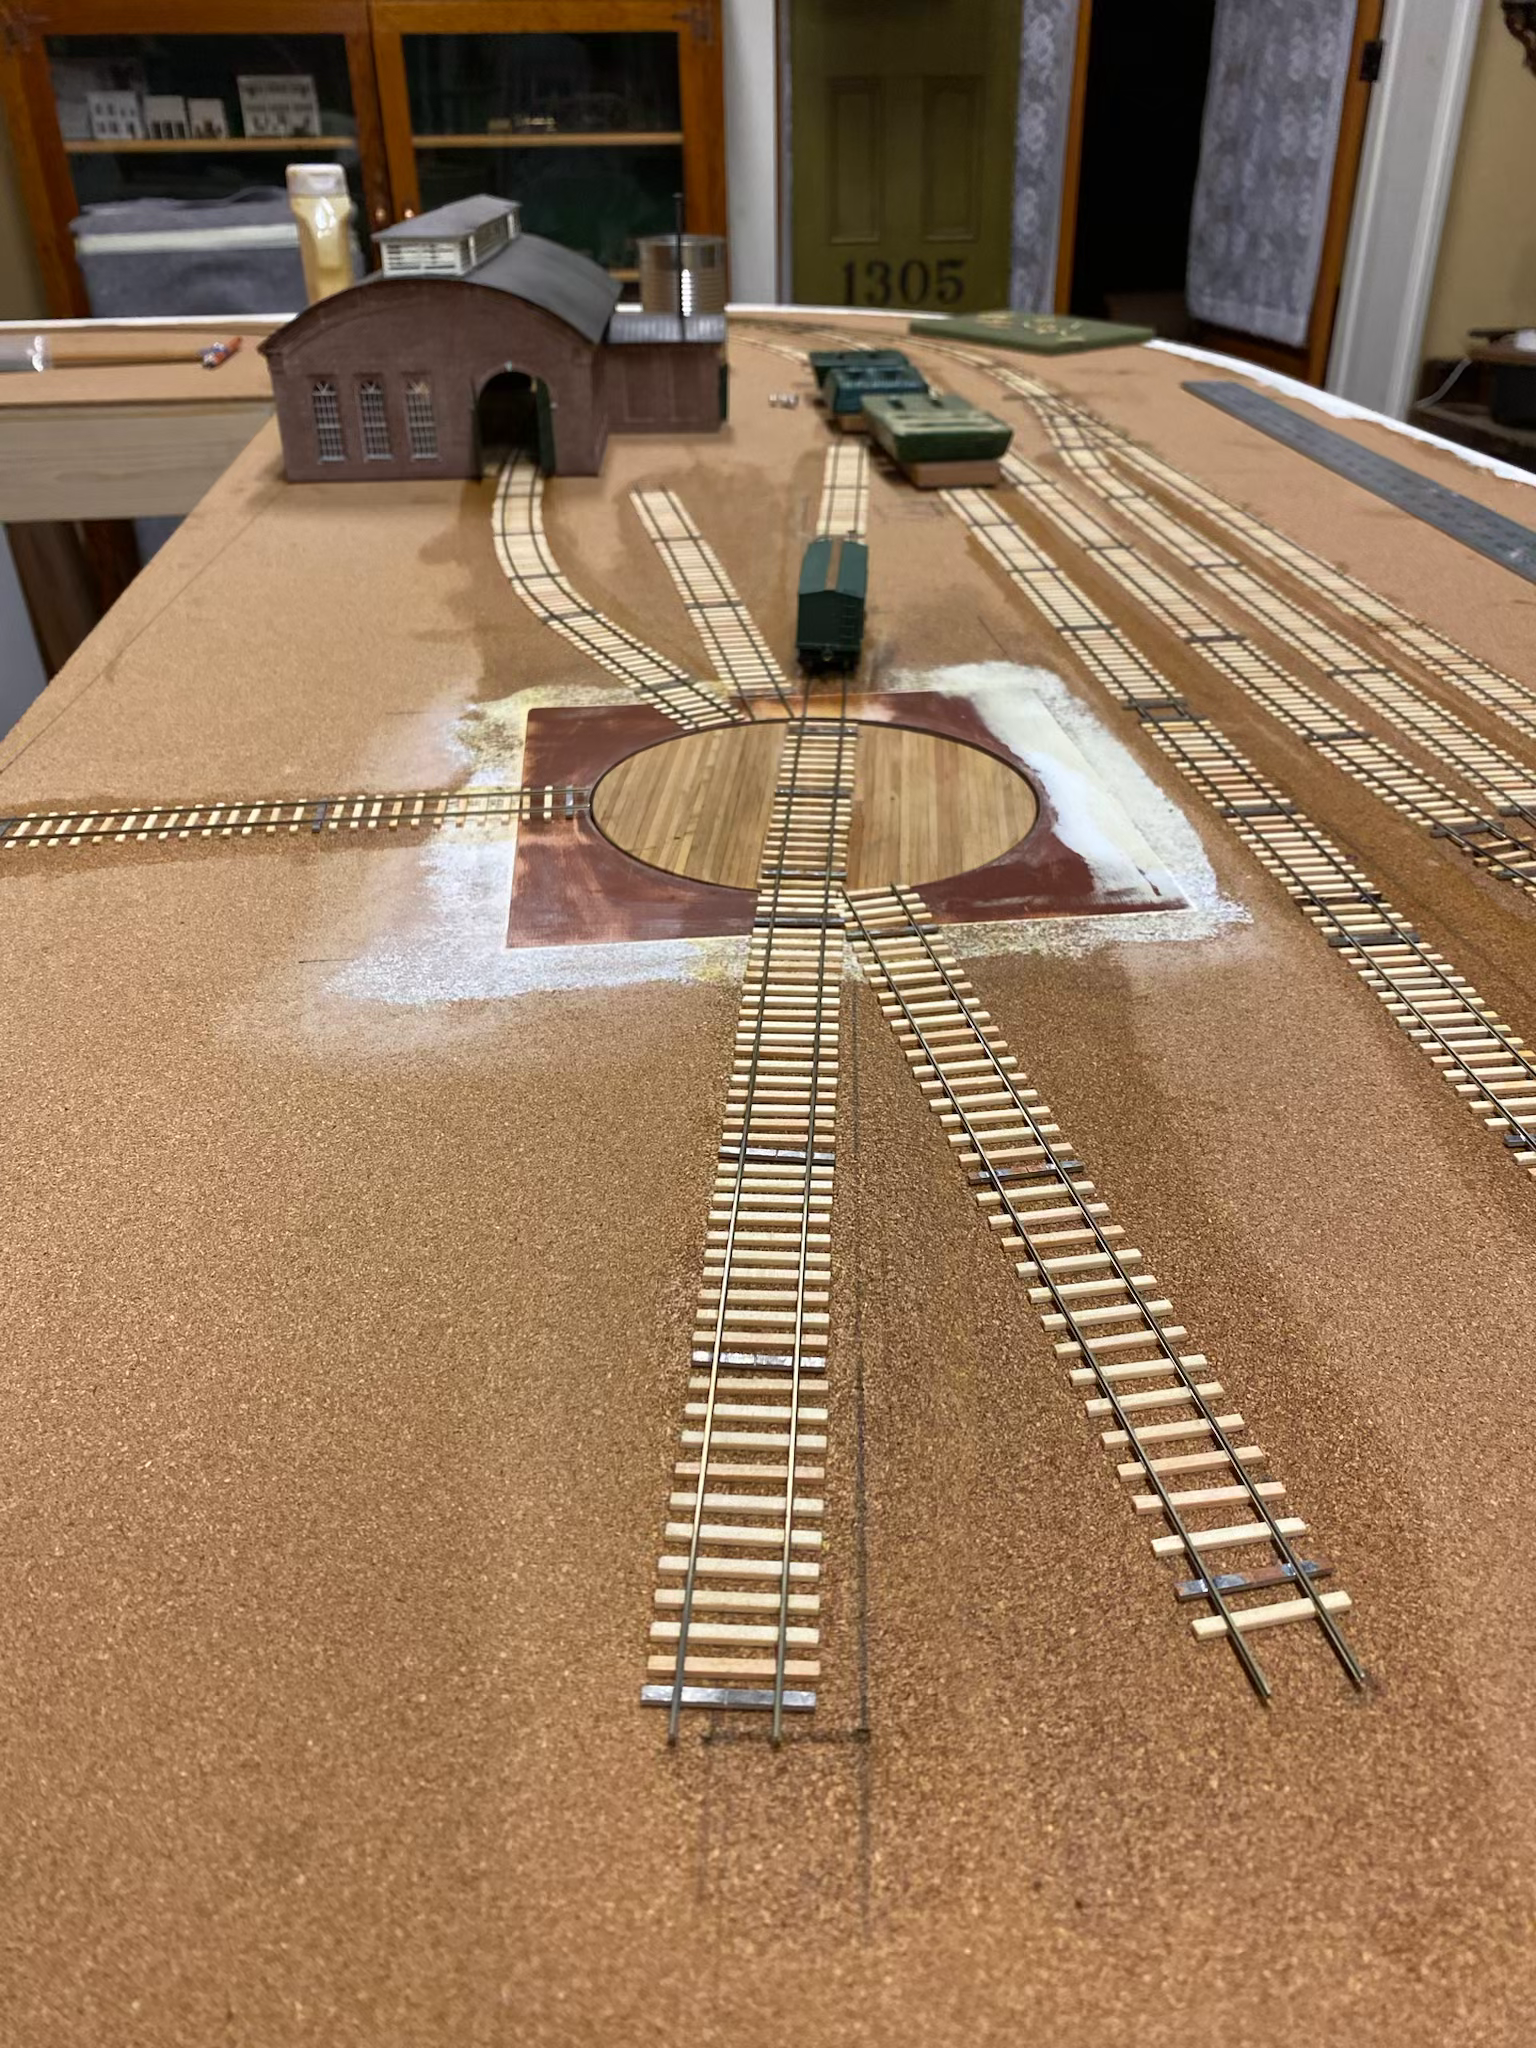
We have an orientation 15 minutes before the first run. I find this is critical to ensure operators are aware of operating nuances. A key one for me is the new hand-thrown switches using a push rod anchored on the fascia:

Here is the Orientation sheet that continues to evolve:
Below, the Yard Master is building a train with his yard engine, Alabama, for a crew's next run out of Chattanooga:


The first part of the operating session went flawlessly. However, after the first 45 minutes or so, one locomotive was not receiving power, and another had its motor turning but no movement. If the issue is not solvable in a couple of minutes, a replacement loco is acquired. The motor turning one had an issue with the shaft separating. Easy repair with CA super glue. She now became a backup.
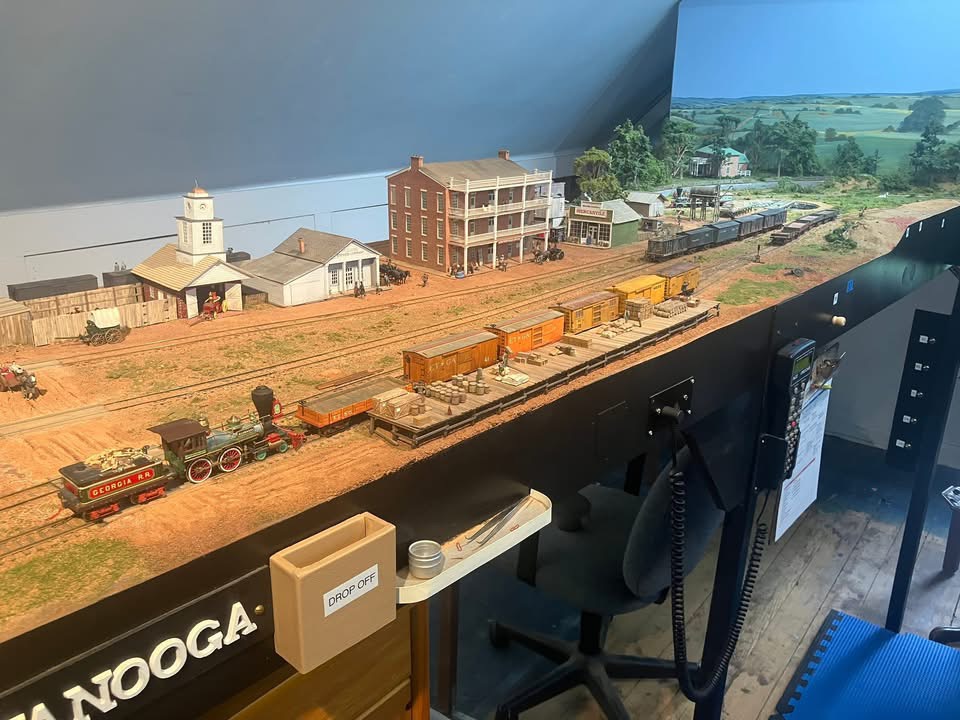
This is a pano looking over the south yard in Atlanta, over to Dalton:

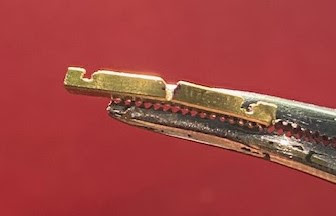
And to give you a close-up view on how crews pin the link, as we say, here is a photo by Jim Judge, YM for Chattanooga, showing how it's done. I have found tweezers with LED lights, which help immensely in a dark area of the railroad.