Showing posts with label Weathering. Show all posts

Wednesday, December 10, 2025

NMRA AP Entries - Certificate Achieved!

I have embarked on the NMRA AP (Achievement Program). To date, I have received certificates for scenery, structures, author, volunteer, and cars. I was motivated to go this route because a couple of NJ Division Members indicated that I had most of the work done. It was just a matter of completing the paperwork. Here are the cars I recently had evaluated for the Equipment - Cars certificate.

This is Adams Express was scratch-built. The trucks are a unique feature known as a "swing truck". It was designed to handle tight curves. This model is based on two period photos. The one below the model was taken in 1863 or 1864 in the Nashville yards. The other is in Chattanooga. This latter photo was the basis for the walls, doors, and roof, which was tin.


This is a modified platform car kit by Mantua. In addition to the artillery, by Musket Miniatures, I added Alexander link & pin couplers, the device attached to the car which is known as a draw head.


Open top cattle car. This is scratch-built on a Mantua frame. The walls and doors are board-by-board construction.


Conductor's car. Scratch built from two images. These could also be called a Way car and were used primarily for the conductor

A BTS (Better Than Scratch) kit, flat cars were one of many different railroad cars used to transport military personnel. Worst situations was when wounded troops were transported in cattle cars, recently occupied by cattle.


Sunday, July 30, 2017

CONSTRUCTING SPLIT RAIL FENCE

19th century fencing took many forms such as snake or worm fence, some refer to it as zig-zag. Rails would be stacked four to nine rails high...


Another style is what I call double post or simply split rail...

...which could be five to eight rails high given the purpose. Eight high were usually to coral live stock, horses in particular. Often times fencing was to demarcate property lines as well as to keep free ranging live stock out of fields with crops. More urban areas could have picket and plank fencing. 

 
I discovered one type I refer to as a woven fence, made from saplings...

This post focuses on creating the double post split rail fence. 
Step 1 - The easy part was acquiring material to make the split rails. Local Starbucks or other morning coffee providers usually have wooden stirrers. At least they did several years ago. when I amassed my inventory. 
Step 2 - Cutting the stirrers into narrow rails. Initially I used a #11 Xacto. Then I realized I could use my miniature band saw from Dremel. These are cut into four sections, lengthwise of course. No need to make these perfect. Remember, splitting rails left various angles and shapes given the gain. When folks like Abe Lincoln, known for his skill at splitting rails, went about splitting, they used wedges, sledges and axes. 

Step 3 - Sanding the woody hairs and shaping these initial cuts to add more angles. A tool I have found very useful is my Delta sander; it quickly does the final shaping.

Step 4 - Decide on rail length. My research has been mostly via internet photos. However, parks and battlefields are a terrific source. Many of these places look to authentically recreate their sites, often including fencing. I found lengths of 7', 8', 9', 10' and 11'. For the double post fence I chose 11'. Here's where the Chopper comes in very handy. Set the barrier, make MANY rails. Posts are cut 5'; 7'-8' if to be inserted into the scenery base.
Step 5 - Construction. Lay out a piece of double stick tape the length you want your fence. Next lay out the posts at 9' intervals, seen below.
 This allows for  a 9" to 12" overlay of the rails shown below.
Next is to begin laying the lower rails in every other gap, at the bottom of the post. The second level of rails covers the open spaces. Continue to alternate until you reach the level desired. I chose six rails high. Most photos I saw showed this height. I use carpenter's glue as it drys in about five minutes.
Now the staining. I use two craft paints. One is FOG, the other is Barn Wood. Making a wash in a small bowl, I drop a bunch in at a time, swish 'em around then separate them on a paper towel...
Once dry I make a stain from black India Ink and Isopropyl alcohol, 70%, and repeat as in the prior process with the wash. 
Building straight sections are easy in that they can be done on a flat surface shown in a prior photo. But when the need is to make angles or turns I build in place...
No worries about the sheep. They were just exhausted from running around avoiding hungry troops. 

Sunday, November 20, 2016

WEATHERING WITH CHALKS

Lately I have been experimenting more with powders and chalks to weather rolling stock. Reading various reviews on chalks I see mixed reactions to the quality of the look that these materials produce. After applying the powders I am a convert. The only watch-out is to not overdo the amount being applied. However, if that does occur it is easy enough to apply other colors to reduce the area that was overdone. Here are a few examples...

The top "house" / box car, a laser wood kit by BTS, is painted the dark slate blue color known for the W&A. The walls have been altered as was the case on many lines. When troops were being hauled about, the lack of air flow caused the fellas to tear out the walls. There are some reports that entire cars were reduced to the frame.
First application is a gray tone for the basic fading. I may use two or three different tones. Last is the reddish brown. This simulates the GA red dirt.
I have found Doc Brown's weathering powders to work very well. He offers about 6 shades of brown and 6 primary-like colors.
I also use Prismacolor pastels. As you can see with Prisma, there are a wide variety of grays. In this grouping there is a dark color that nearly matches my dark slate blue, which is a Tamiya color called Field Blue. When I overdue a color I can hit it with colors close to the base color in order to soften the hue. The lighter grays give that additional weathered look of faded paint and wood versus using a pure white. 
Here's a few other cars weathered with these powders and chalks.

Friday, March 4, 2016

STRUCTURES & SIGNS

With much of the layout completed, I am now focusing more on structure colors and sign designs. As many of you probably know, color is one of the most challenging, and sometimes perplexing, elements to recreate. In addition to cruising model railroad blogs and sites, one source for ideas has been "The Civil War In Color". Here is one taken on PA Avenue during the Grand Army review at the  end of the war.
This one below is a store near Ford's Theater. There are several very cool details to consider. One is adding small signs as on the columns. Another is adding a larger sign such as the one saying "Family Circle". Then there are the drapes and the green balcony railing,  One other consideration is attaching a gas lamp as shown below. Another element is the fogged window panes. Makes it easy to avoid detailing an interior!

Although one could challenge the accuracy of either or any, such is the case in most colorized or even suggested colors in any period photo. However, these provide enough plausibility to copy for my purposes. I also read that most structures of this type had three colors, making for some fun combinations.

My town of Dalton now has my attention as there are several buildings that have been waiting for an identity! Below are two buildings that have made the transition.
For the Cherokee Insurance Banking Co. I decided on these darker colors since this is a formal business structure. To construct the sign, I first  measured the space dimensions on the building. I then perused many font options that I had seen in other photos and came up with Algerian. It took a few tries to get the font size to a correct height. After a few test fits the sign was printed on my computer using typical copy paper. It was then cut to size measured earlier. Next was to cut a piece of Evergreen styrene for the backing. I chose .010. I then framed it with .040x.040 strips which provided a frame for the actual sign. The next to-do's are window treatments, and then the next challenge - what to do for the show windows on the ground floor! One idea is to find a color photo that could give the illusion of an interior that is simply pasted or glued onto the inner side of the window. Another option of course is to add an interior with a light. Hmmm?
Photo below is a paper flat that DC Cebula expanded upon adding a chimney on the right. He then built a slight addition to give it a 3D perspective. One most attractive additions is his detailing of the roof trim. The sign was made in a similar fashion to the Cherokee Insurance Co above. 
Both signs are black lettering on white paper. The frames were painted black with craft paint. I weathered both with Doc O'Brien's powders. For this one I used brown and yellow.

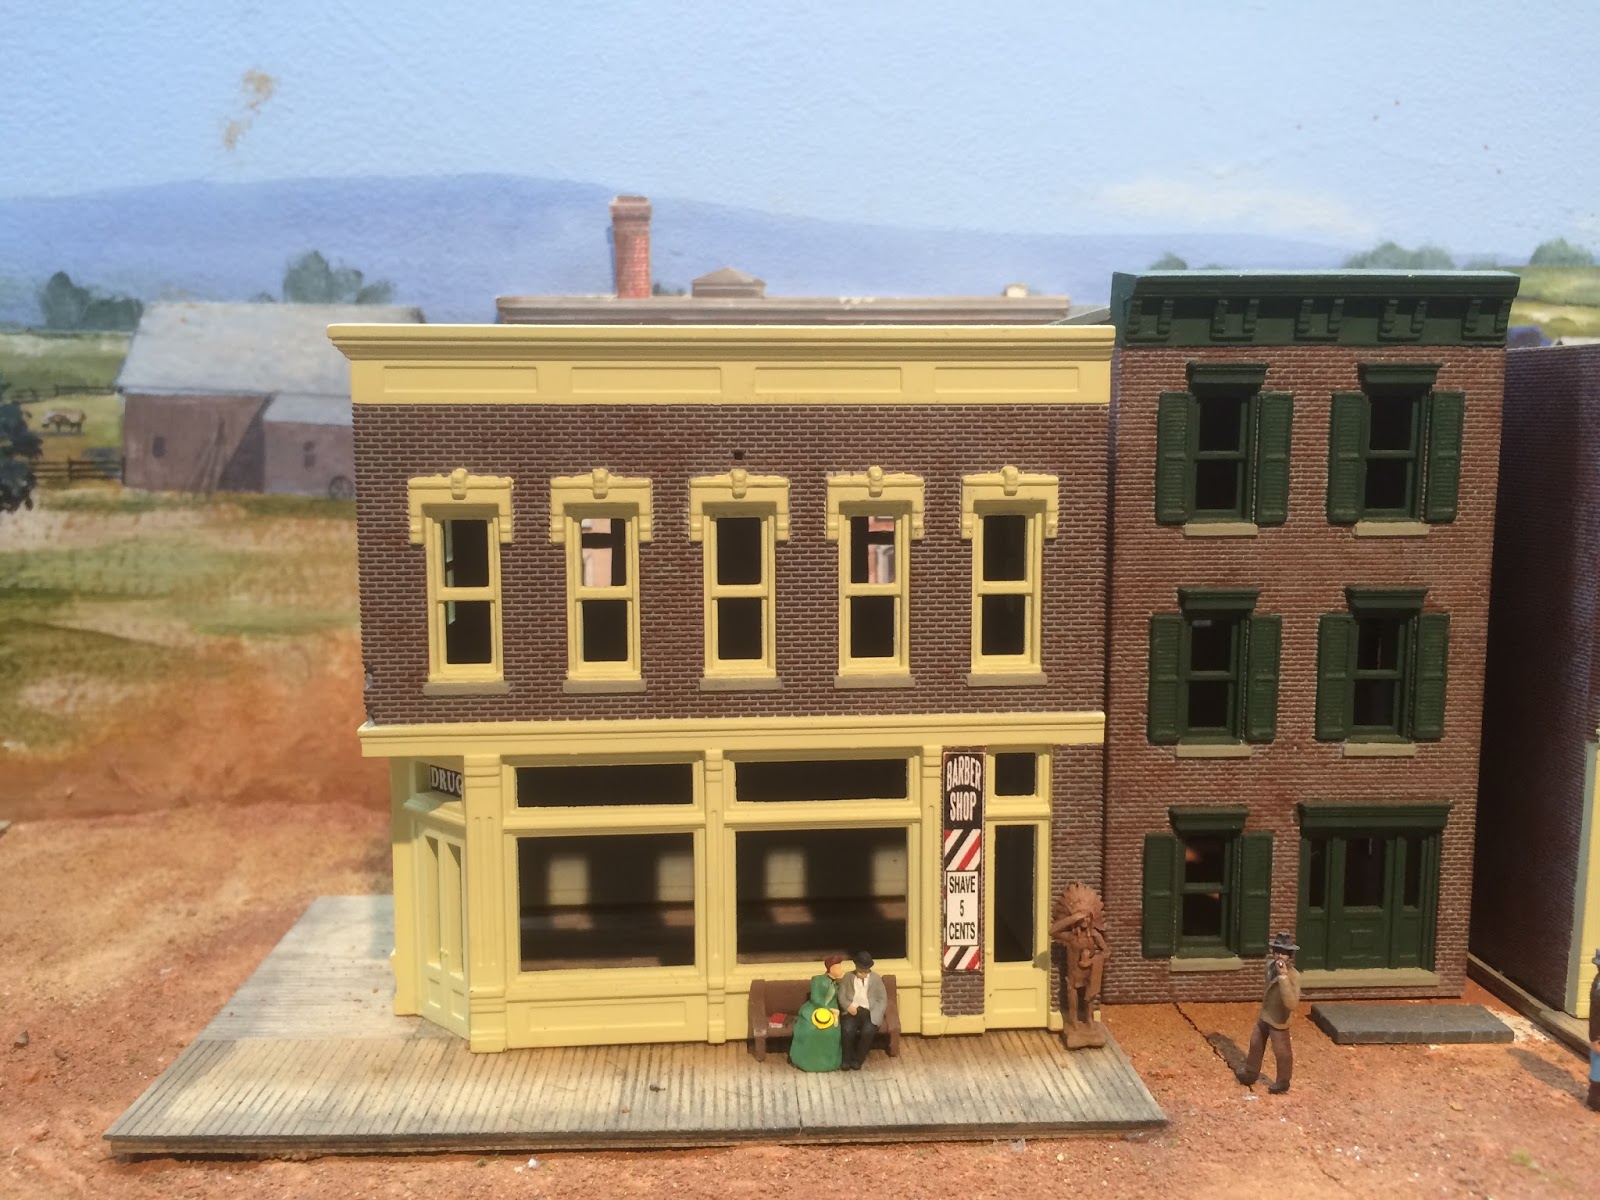
Next in line is this Drug Store and barber Shop. I am considering a third color but not sure which. Of course these windows need their treatments and some semblance of an interior. The building to the right is a residence of one of the town doctors. We will add a small front yard and fence, perhaps a flower bed. 
Another source for signs is the movie 'Horse Soldiers'. In particular are the scenes at Newton Station. There are at least a dozen signs shown. Some are painted directly onto the building. Others are on a framed placard and there's one or two hanging. You'll see a few store windows painted with such titles as BAR. I'd guess that there is also eight or so different fonts. I am currently surfing the web to find font sources. However those that come with Windows have provided a decent variety for now. In addition to the Algerian I also use GungsuhChe, Bell MT, Baskerville Old and High Tower Text. 
You can look for other font types on our civil war railroads yahoo site by John Ott. 
Lastly, I have been having TOO much fun making signs now that I have found a few more ideas for working with decals. This brings me to sharing with you a fabulous HOW TO book by Kalmbach by two of the best and well known model railroaders, Dave Frary and Bob Hayden. I Most enthusiastically post the cover here: