He is building and HO scale layout of the Sacramento Valley RR, circa 1856-65. You can watch a conversation between he and I on my YouTube Turntable Discussions.
There will be a series of posts here that will include his layout build such as structure builds and scratch built brass 4-4-0 . CRAZY!

Here is one of the period photos Nick has been investigating to match the map with actual track and structure placement...


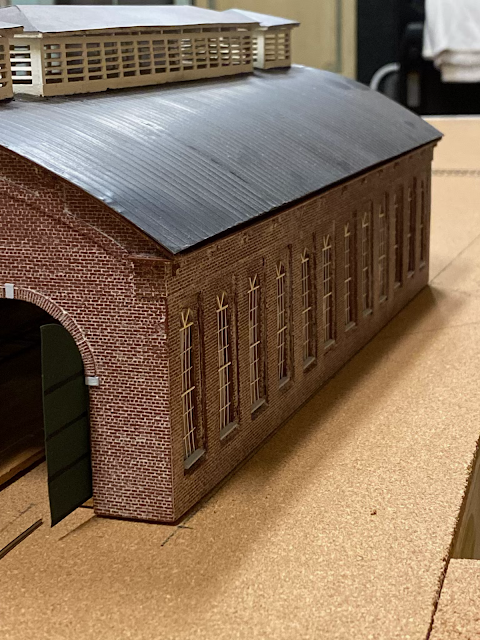
The engine house was also scratch built... of course.
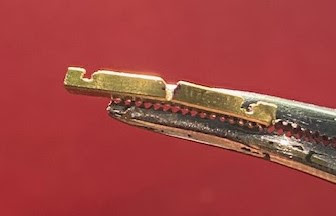
Stay tuned for more to come, e.g., his 3-way and switch builds using Fast Tracks and his magnificent loco build of the L. L. Robinson!
This is a Sanborn map which he has referenced for his layout as an overview for his rail road.


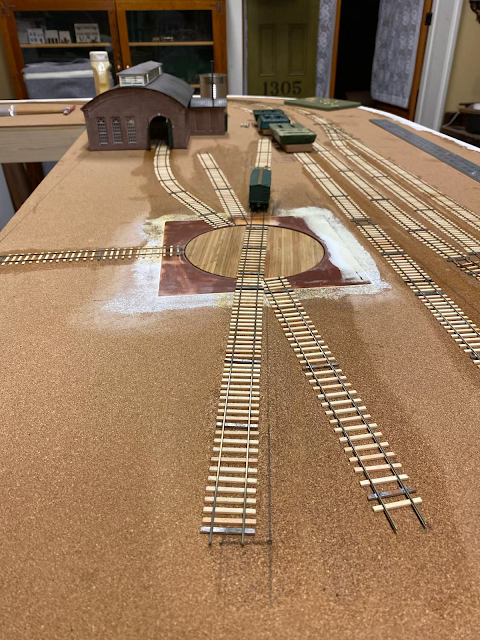
The following photos reflect the track work around the turntable.


Stay tuned for more to come, e.g., his 3-way and switch builds using Fast Tracks and his magnificent loco build of the L. L. Robinson!