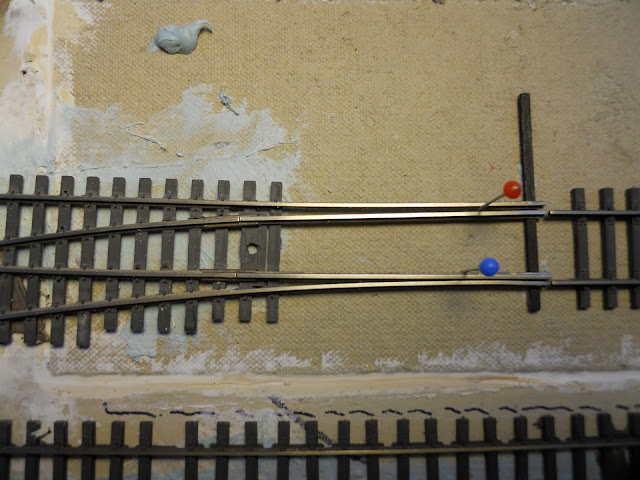
Fast forward, RailDreams used point turnouts converted into stubs. Using these as a template I began laying these in Dalton. I chose to start there because I did not want to rip out the scenery between Atlanta and Kingston. However, I did add a siding and a cross over in Atlanta using BK Enterprise stubs which work quite well. As with many aspects of modeling, it is often best to do a practice run; learn what to do as well as what not. As you can see in the above photo of my first turnout, I did not take my own advice. The ties are obviously not well aligned and a quite a few split. My ratioanle...the crew was pressed for time hearing that the Yankees were in Chattanooga.
Laying any track could not be done on the foam, as far as I know, it being too soft to hold spikes, by Micro Engineering . It requires a solid base so I used Homasote cut to fit into the area beneath the turnouts.
This here turnout is a #8. Most are Shinohara. It could be easier to lay from scratch, but I thought this method would expedite the process given the number yet to install. One challenge to converting points is the rail arrangement. The angle requires some creative adjusments. The key of course is ensuring a reasonably smooth and efficient transition to and from the main. You can see there are a number of ties to remove in order to align the rails. The head block is from a copper PC circuit board I read about in MRR, January '86. Another consideration is ensuring a reasonable gap to allow for humidity's influence.
The following two photos are at the north end of the Dalton yards and show completed points to stubs. The piece of foam core sits on the piano wire which is connected to the Tourtiose switch machine below and protects fore arms from impalements.
You will also see brass bridle rods on the approach or fly rails to maintain gauge. The January '86 MRR article explains how these are attached. Most important is using epoxy which works as an insulator as well. Notice the Homesote base on the above shot. The turnout in the bottom photo needed to placed on a piece of pine integral to the benchwork making the drilling for spikes slightly more difficult.
Next I will be showing progress updates on Kingston scenicing, the Oostanaula crossing and Dalton among a variety of other projects. Hope you enjoy the trip. Comments are most welcomed.


